Tuesday, 29 March 2016

How to maintain a darker ombré on blonde hair

GARNIER hair colour 5
 After having coloured my hair everything from the lightest blonde to pitch black in the last 15 years (and most colours in between, including red and purple!), I feel that I've finally found the ultimate colour for me. Experimenting is all good and that, but when you find a colour that suits you with and without makeup on, you should probably stick to it. The funny thing is that the colour I'm really happy with at the moment isn't too far off my own natural hair colour, but all the same it needs maintaining. 
I've got sort of medium/dark blonde hair naturally, but I don't like being quite so blonde. It makes me look... too nice and innocent :P
What really improves the way my hair looks is darker roots, which creates a natural looking ombré and gives more depth to my hair.
What's annoying is the blonde roots that keep growing out, and this is my little how to guide to maintaining a darker ombré on blonde hair.
 
 Firstly, I've started off by choosing a hair colour that is 1-2 shades darker than my natural hair. I've gone for a 5, which is a neutral medium brown which has neither warm nor cold hues in it.
Rather than using the bottle as an applicator like you would normally do when doing home colouring, I pour the mixed hair colour into a bowl, and I'll use a hair colour brush to apply it with.
Secondly, I divide up my hair into 4 sections. Hot, or what?!

home hair colouring
 Starting with one of the back sections, I then divide the section up parting by parting (about 1 cm apart), applying about an inch of hair colour around each parting going from the bottom and working my way up through the whole section.
Repeat the same procedure with all 4 sections, and make sure that you always only apply an inch of hair colour wherever you are in the process. This way you get an even result and a natural looking ombré.
It can be a bit tricky at the back so you may need to ask a friend for help, but if you're used to colouring your own hair you can manage to do it all by yourself.
Use a second mirror behind you and it'll be easier to keep track of where you've applied the colour.
Try to "smudge" the colour out the further down the hair you get to avoid getting a sharp edge.
blow drying hair
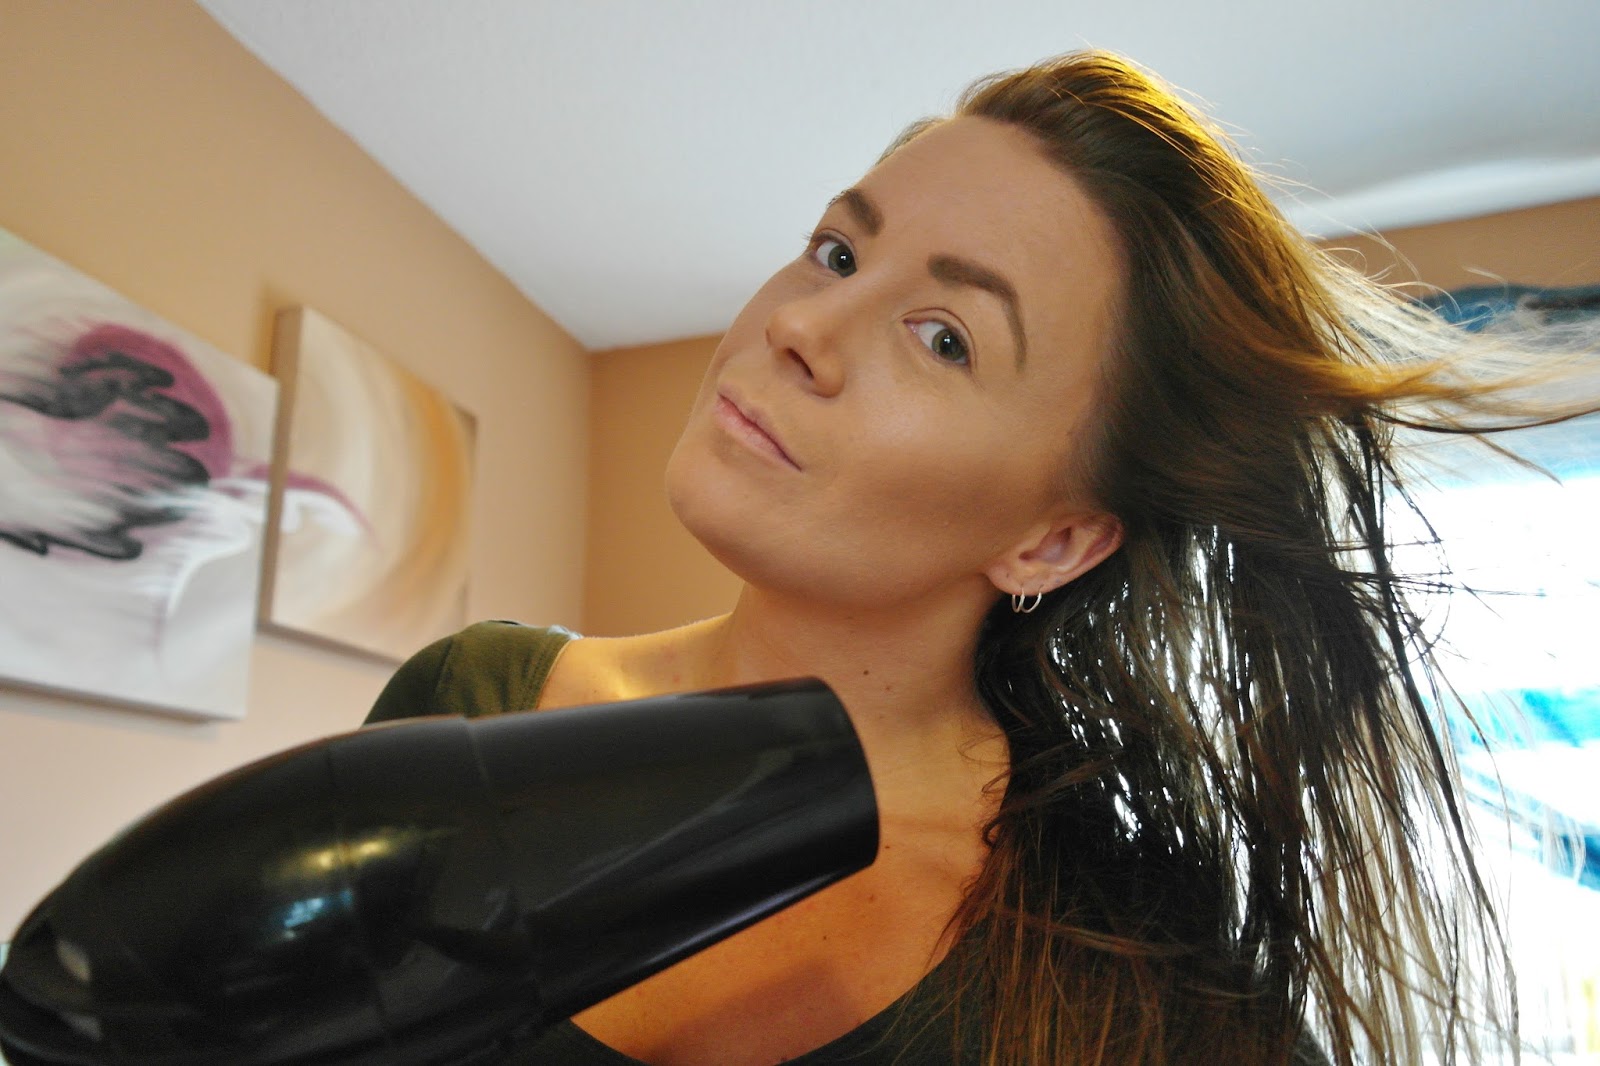
 Let the colour sit for the amount of time given in the instructions (usually around 30 minutes), wash out, and style as usual.
Moment of truth...!

ombré hair
 Seeing as I've coloured my hair ombré lots of times I've got a longer gradual ombré as you can see. If you want to achieve this look straight away you can apply a slightly lighter hair colour than the roots on the mid section of your hair, and keep the tips the lightest.

bronde ombré
 I would probably describe my hair colour as "bronde" - brown-blonde.
What do you think of the result?

colour mask shampoo beige
About once a week I use a so called "colour bomb"; a coloured shampoo to keep my hair colour looking fresh and radiant in between hair colourings. I've chosen the Color Mask Shampoo from KC Professional which has been developed especially for colour treated hair. It contains plenty of pigment for instant results, and the shade I've gone for is beige. This shade is ideal for dark blonde to light brown hair to remove any yellow shades you may have from old colour or bleach.

Thursday, 24 March 2016

A fabulously stylish charity poker night with a Great Gatsby theme

When an opportunity to dress up arises I would never turn it down. So when I was invited to an event with a Great Gatsby theme, I got super excited! I've always adored the gorgeous style of the 1920's with the headbands, the feathers, and the glamour in general, but since it's not the most common style nowadays I've never before gotten the opportunity to dress this way. Sure, you could get inspired by any era in your outfit choices, but to get the opportunity to go all out like this is quite rare.

We arrived at the event with great expectations. The invitation said Sky Lounge, which is the bar at the very top floor of Hilton in Leeds with the best view in town, and it couldn't get much more luxurious than that. We were greeted with champagne, and I was amazed about the effort everyone had put into their outfits. All my fellow Leeds bloggers looked absolutely stunning!

My two favourite girls; Dash from Mode Lily and Laura from Top Style Advice, were my partners in crime for the night, and I love how we all wore very similar outfits. I had chosen a cream lace midi dress with thin straps from Boohoo, paired with black satin gloves, a black lace headband, and of course a 20's style long pearl necklace - all typical accessories from the era. I also put my hair up in some sort of curly side do to complement the style even more.

After the welcome drinks we were taken into another room where the real event was about to start - a Texas hold'em poker tournament in the name of charity.
It was all arranged by Ladbrokes Poker, we got taught the rules and betting systems properly, and then with our fake money we played to win £500 which would go towards the winner's favourite charity.

We all started off with poker chips worth £1,000, and after a couple of test runs we eventually got the hang of it. I've never been much for poker (except for strip poker in my teens!) but I enjoyed it more than I thought I would.
It was actually really exciting!

Dash was winning big all the time!
Beginner's luck... ;)
Just look at her smug face!

They were serving fab quality canapés...

...and lots of wine (which you ended up downing cause you weren't allowed to put the glass down on the poker table... oops!).

Like taken from some old glamorous Great Gatsby casino film, right? ;)

Everyone looked so amazing, and had put so much effort into their hair, makeup and outfits! Here are some fabulous fellow Leeds bloggers.

I don't actually know who won in the end, and I don't think any of us cared cause we had such a great time. I just wish I would have lived to see the real 1920's Great Gatsby era and could dress like this every weekend! 
Cheers!

Thanks to Ladbrokes Poker for a fantastic event, and thanks to Search Labs for the lovely photos.

Tuesday, 22 March 2016

How RatsEye Design gave new life to my old bleached tattoo

When your old tattoos start looking like this, it's no fun anymore!
It's quite embarrassing, to be honest.
I was super happy with this tattoo when it was new (early 2008) but after several years of sun damage, this is what it ended up looking like. That, combined with the fact that I went to a sloppy tattoo artist! This just shows how important it is to research your tattoo artist before you decide who to go to. Although it probably looks worse that it is seeing as my tattoo was a light brown with very light flowers from the beginning.

To the rescue came Zannie from RatsEye Design Tattoo. She's originally from Sweden, just like me, but moved over to England a couple of years ago and started up her own tattoo business in Brighton. 
It has been a year since I went to see her now, and I'm aware that I've been teasing you with my lovely cover-up in various outfit posts ever since. Well, here's my story!

Alphonse Mucha Art Nouveau flowers
When I first came to RatsEye Design Tattoo I asked Zannie to just fill in my old tattoo, but she refused! She said it was flat and lifeless, and had some ideas for the flowers. Inspired by Alphonse Mucha's Art Nouveau flowers, she started working on a sketch that would transform my tiny dead flowers to massive blooming ones!
What I really like about Art Nouveau flowers is that they're not perfect, but you could say that they're at the end of their glory just before they die. I also love the dusky colours of this era, and this was what we were going to try to replicate.

tattoo coverup
Zannie drew up the new sketch for the cover-up onto my old tattoo with the help of some stencils, but also by freehand.
As you can see, the basics of the tattoo would remain the same, but the flowers would be twice as big.

 Hearing the tattoo machine for hours was not fun!
Tips for when getting a bigger tattoo: bring a book and some other sort of entertainment, as well as sugary drinks and snacks to keep your blood sugar up. Like it or not, but you do bleed quite a bit, and it gets you tired.

Part one of the process done - the outlines!
Just as with my other tattoos I've gone for a dark brown rather than black, as I think it goes better with my skin colour. Black goes so green after a while...

 Over all, Zannie sat bent over my shoulder with that horrible buzzing right in my ear for almost 7 hours! Talk about draining! But it was so worth it!
I really couldn't be happier with the beautiful Art Nouveau style flowers that ended up on my back rather than that bleached shit that was there before. Zannie is a perfectionist and takes her time, but I'm definitely staying faithful to her and RatsEye Design Tattoo from now on!

A year on, and the tattoo still looks perfect!
Another tip is of course to take care of your tattoo properly when it heals, otherwise you could end up with uneven colours. Don't pick any scabbing, and keep it moisturised with a mild but thick cream such as Bepanthen.

Have a look through Zannie's work on RatsEye Design Tattoo Brighton's Facebook page.

Monday, 22 February 2016

Icy blue winter nails made with dry marble technique

dry marble nail art
 Even though we rarely get a proper winter with snow and ice here in the UK, it's a cool element to get inspired by for some wintery blue nails.

essie nail polish
 For this dry marble design I'm using cold hues of nail polish; light icy blue, silver glitter, white, pearl, and of course my favourite top coat from No7. 
Actually, before you even start trying to achieve a dry marble nail art, make sure you have a good top coat to hand - it won't work otherwise!

blue nail polish
I was actually inspired by Dolce & Gabbana's winter catalogue (seen in the background) for this swirly blue and white pattern.
To start with, I just painted my nails in one coat of plain blue polish, and I chose pearly white for my accent nail.

dry marble tutorial
Once the first coat had dried, I painted a second coat of blue - doing one nail at a time - directly followed by a few drops of the white and pearl polishes straight onto the still wet blue polish. Don't worry about the size of the "blobs", but just experiment as you go along. Just make sure that there's enough nail polish to spread out and swirl around your nail.

marble nail art tutorial
 With the help of a small-headed dotting tool I'm drawing swirly patterns on my nails in the wet nail polish. It does look VERY MESSY at this point, but believe me... it'll all get sorted out with some amazing top coat. Just let it semi-dry first.

marble nails
Here you can see the difference between having added top coat and not; the nail on my index finger is all nice and smooth whilst the others are still very textured and messy-looking.

how to marble nail art
With top coat on all nails and a coat of silvery glitter on my pearly white accent nail my swirly blue winter design is all done! 
Have you ever tried dry marble nail art yourself?
If not, I hope this post gives you some inspiration to do so.
It really is super simple!


Thursday, 11 February 2016

Posh dinner, posh attire... and a murder on the posh floor!

You may be wondering why Kristina from Mode of Style and myself are all dressed up, holding on to some very important-looking items such as a magnifying glass...
Well, we had received a very fancy invitation for an event at nowhere other than the posh Hilton in Leeds, where we had been asked to 'dress to impress'.
On top of that we had been promised an eventful dinner with some detective work!

 Although the cause was unknown, it seemed like the area was a crime scene already on our arrival, and had been investigated by the police.
What had we gotten ourselves into? 
WERE WE IN TROUBLE?!?

 But when they presented us with some items a la Sherlock Holmes, and explained to us that we simply had to help out with an investigation, we could finally relax (and start enjoying the wine!)

 All the best private detectives wear a mustache and/or glasses, right?
Was Kristina a suspect in the crime which we were yet to be presented?

 We were about 30 bloggers that all sat down for dinner at three different tables...

 ...but before we had even stuck our forks into our starter, a man stumbled into the room and DIED RIGHT IN FRONT OF US! 

 Luckily, the ACTUAL SHERLOCK HOLMES (starstruck!) was quick to arrive, and to our horror he declared that there had been a MURDER!
But who was guilty to this terrible crime, and where would we even start our investigation of the #MurderOnThePoshFloor?

 Sherlock Holmes made us take an oath that we would truthfully and wholeheartedly put all of our efforts into helping out finding the murderer (although that was very difficult when there was delicious food put in front of us from time to time - extremely distracting!).

We were served a 3 course meal consisting of tasty soup, chicken breast with potato gratin and vegetables, followed by some sort of raspberry mousse with white chocolate. 
And in between the courses we were trying to solve the murder mystery in our different groups, which became very competitive. 

Luckily, we had Sherlock and a policeman to help us, and before we knew it they had found some evidence which we dusted for fingerprints, and BINGO! With the help of forensic reports, questioning of suspects, checking of criminal records, and warrants for pocket searches, we managed to solve the murder and arrest the perpetrator.

Thanks to Posh Flooring for such a fab event with lots of friendly faces and lots of fun! 
It was a true one of a kind dinner, and one I will remember forever!

Friday, 5 February 2016

Cryotherapy - The power of ice

Have you ever heard of Cryotherapy? 
Neither had I... until XS Hair in Leeds invited me to a demonstration at their fab event in Leeds last week. 
There were bubbles, pampering, and the power of ice!

I had a very special guest with me to the event (who I think got more out of it than me in the end!) - my little sister! She had come to Leeds for a visit, and I was so happy to get to show her "my" Leeds. She's only ever really been with my parents before, but I had a great time showing her around the younger parts of town.

cryotherapy
But back to the event. 
When we arrived we were welcomed with a glass of bubbly, and the first thing we saw was a girl laying on a bed having some sort of treatment on her face. We were promised an in-depth explanation and demonstration shortly.
Having read the benefits on the leaflet I was handed on arrival I was very curious to what this miracle treatment was!

XS hair Leeds
So what is Cryotherapy?
It's a pioneering technology originating from Japan, which uses liquid nitrogen to cool down a concentrated area on your body, which in turn triggers a physiological reaction. These reactions have multiple benefits such as weight loss, tighter skin, reductions of cellulite, wrinkles and acne scars, and even pain relief. 
Or like the lovely ladies at XS Hair explained it in a more humorous way; the freezing temperatures basically tricks your body into believing it's going to die, so the blood rushes to the treated area and plumps up the skin and burns lots of calories.
It's a natural treatment with biological health benefits.

facial
Next up to have a trial session of the facial treatment was Kellie from Big Fashionista.
She was covered in warm towels and had her makeup removed to start with.

big fashionista
Having done the treatment on just one half of the face (the one to the right in the photo) you can already see that her face looks smoother and plumper. 

blogger event
It was such a popular event, and lots of Leeds bloggers, journalists, and even a soap actor had come to see the wonder of Cryotherapy.

cryotherapy demonstration
My sister had a quick blast of Cryotherapy done on her chest since she had had a stubborn cough all week. This was followed by a chest rub. She said it was very relaxing. 
XS hair salon in Leeds
On top of this, XS Hair treated us to hair styling, and some advice from their hairdressers.
Here's Ally from Digital Diva having a consultation on her fringe, whilst Kellie from Big Fashionista is having her hair curled.

There was also a choice of having your nails done with Shellac polishes. 
Such a luxury event!

My sister and I had a great time learning about Cryotherapy and mingling with other bloggers.
Thank you so much to Cryotherapy UK and XS Hair in Leeds for arranging such a fantastic event!