Even though we rarely get a proper winter with snow and ice here in the UK, it's a cool element to get inspired by for some wintery blue nails.
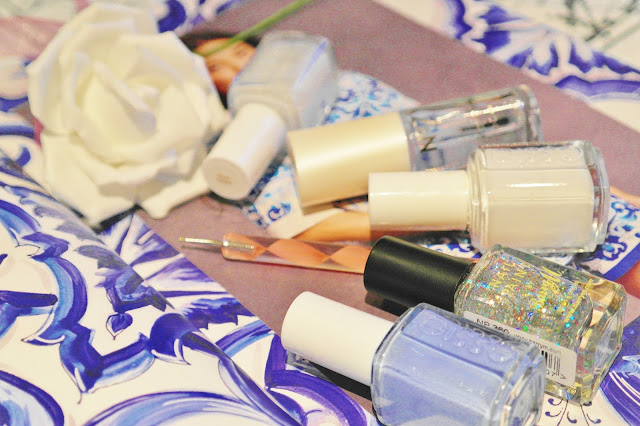
For this dry marble design I'm using cold hues of nail polish; light icy blue, silver glitter, white, pearl, and of course my favourite top coat from No7.
Actually, before you even start trying to achieve a dry marble nail art, make sure you have a good top coat to hand - it won't work otherwise!
I was actually inspired by Dolce & Gabbana's winter catalogue (seen in the background) for this swirly blue and white pattern.
To start with, I just painted my nails in one coat of plain blue polish, and I chose pearly white for my accent nail.
Once the first coat had dried, I painted a second coat of blue - doing one nail at a time - directly followed by a few drops of the white and pearl polishes straight onto the still wet blue polish. Don't worry about the size of the "blobs", but just experiment as you go along. Just make sure that there's enough nail polish to spread out and swirl around your nail.
With the help of a small-headed dotting tool I'm drawing swirly patterns on my nails in the wet nail polish. It does look VERY MESSY at this point, but believe me... it'll all get sorted out with some amazing top coat. Just let it semi-dry first.
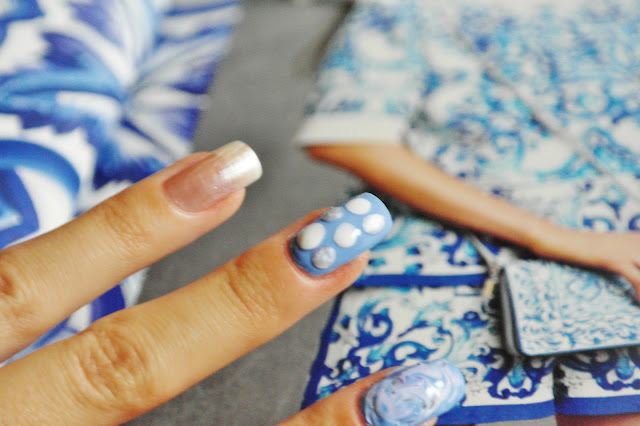
Here you can see the difference between having added top coat and not; the nail on my index finger is all nice and smooth whilst the others are still very textured and messy-looking.
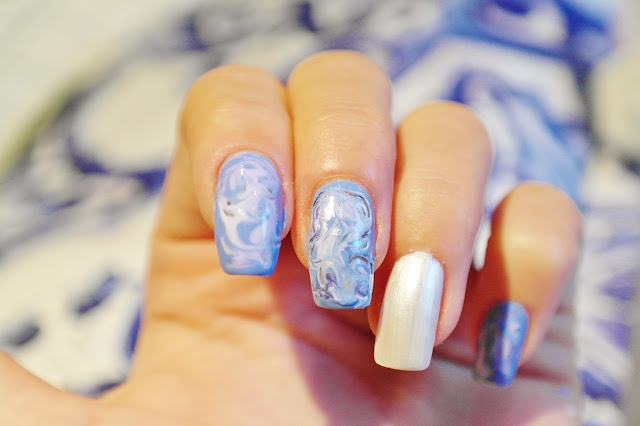
With top coat on all nails and a coat of silvery glitter on my pearly white accent nail my swirly blue winter design is all done!
Have you ever tried dry marble nail art yourself?
If not, I hope this post gives you some inspiration to do so.
It really is super simple!


