

As most of you probably know, October is a very special month - it's the pink ribbon month dedicated to spreading awareness about breast cancer.
To honour this month, and to help spread the the word and the colour pink I have put together a little post about a pink nail art design that I came up with for the occasion. Just as with some recent nail art designs, I have gone for a multiple accent nail style, where the nails are of different styles but still match each other colour wise.

The nail polishes I've used for this design are:
No7 Speed Dry Berrylicious
Barry M Gelly Lychee
Nails Inc Udderly Shocking Pink
Barry M Nail Paint Silk Blossom
I've also used some little nail art pearls as decoration. These are from Amazon and only cost me about a pound, including delivery.
I started off with a water marble design on two nails on each hand, and this is a reminder of how you create this lovely and swirly design;

1 You need a disposable cup, toothpicks, sticky tape, tissues and a few different coloured nail polishes.
2 Place the tape around the nails to avoid getting polish on your skin.
3 Fill the disposable cup with room temperatured water.
4 Start dripping nail polish into the water. Make sure you do it from a low point so that the nail polish don't drop too fast and end up sinking. You want the first drop to spread out on the surface of the water.

5 Keep dripping the different coloured nail polishes into the cup of water, and create a bullseye. You usually need 10 drops to complete your bullseye.
6 With your toothpick, start drawing a simple pattern in the bullseye. I've opted for 4 strikes outward to begin with, followed by 4 strikes inwards, which creates a sort of flower or butterfly pattern.
7 Once your happy with your pattern, line up your nail over the water surface and your favourite part of the pattern, and simply dunk your nail into the water. Keep your finger in the water whilst you clear off the excess nail polish floating about on the surface.
8 Once the surface is clear, slowly pull out your finger, and voilá - you've got your water marble nail art. Now just remove the tape and clean up your cuticles with a cotton stick dipped in nail polish remover.
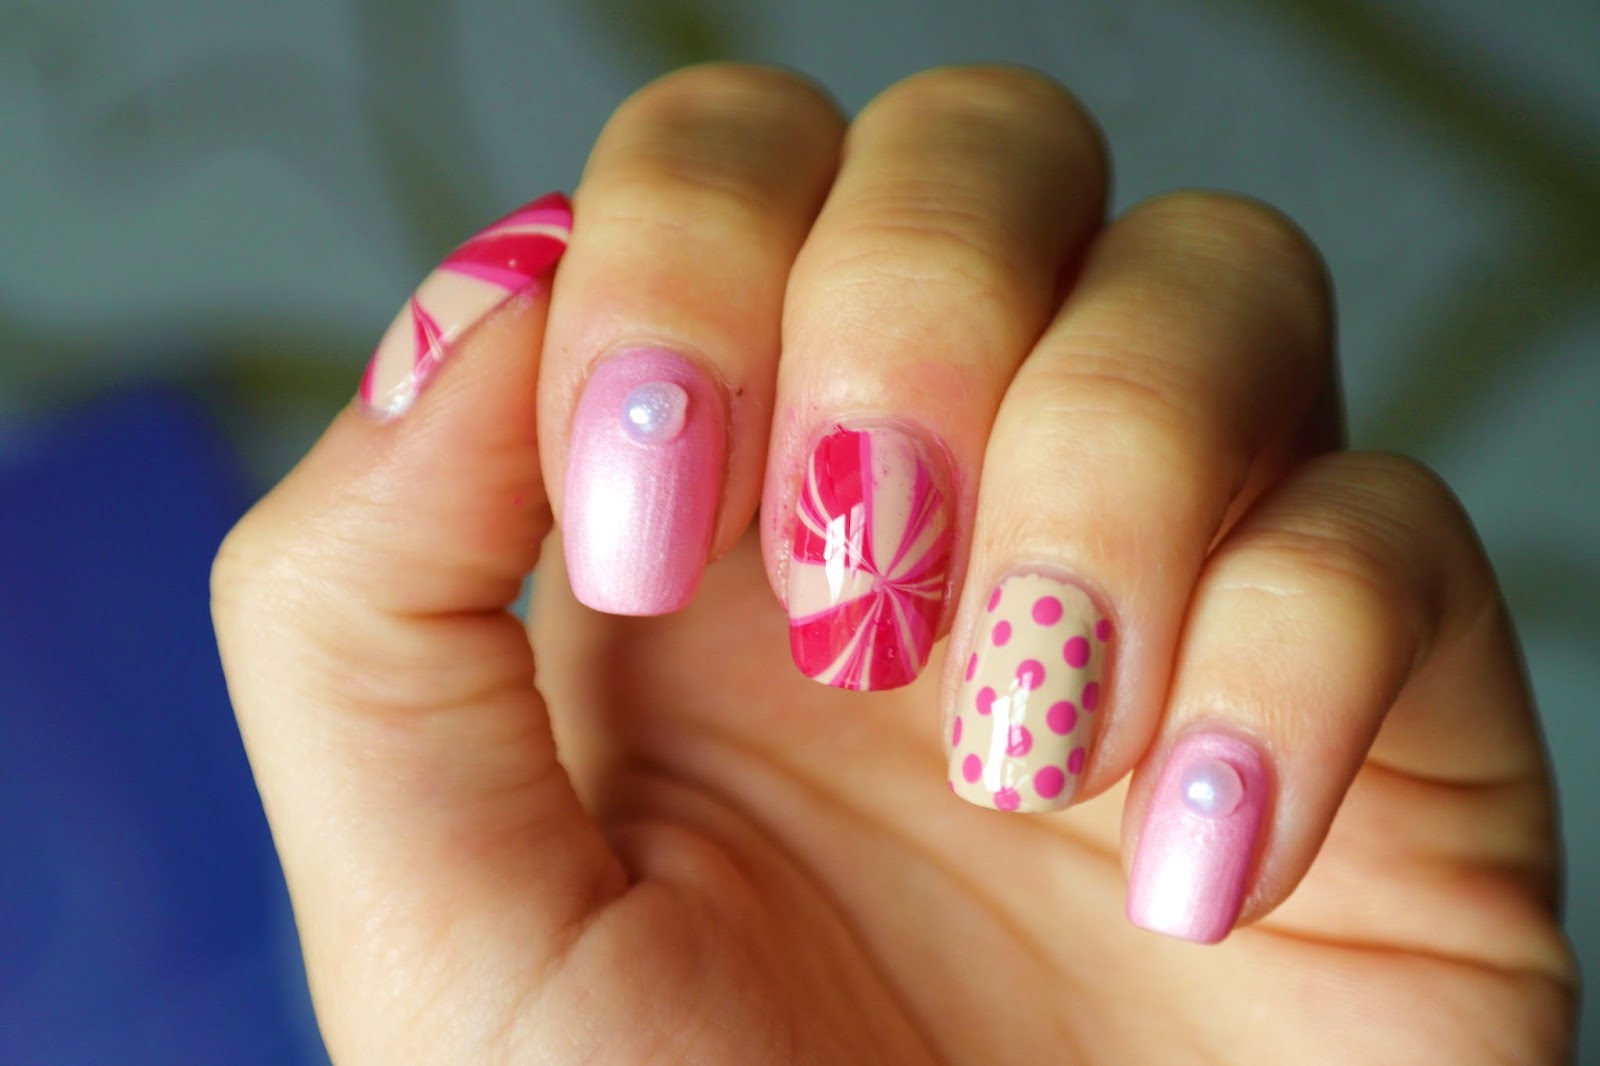
For my other nails I went for simpler deigns; the nails in the silky pink polish by Barry M simply got some little pearls added to them (see a similar tutorial about how to apply studs on your nails), and the ring finger ended up with simple pink polka dots on a beige base, using a dotting tool.
What do you think of my pink nail art design for breast cancer awareness month?
No comments:
Post a Comment